The Importance of Proper Plant Handling
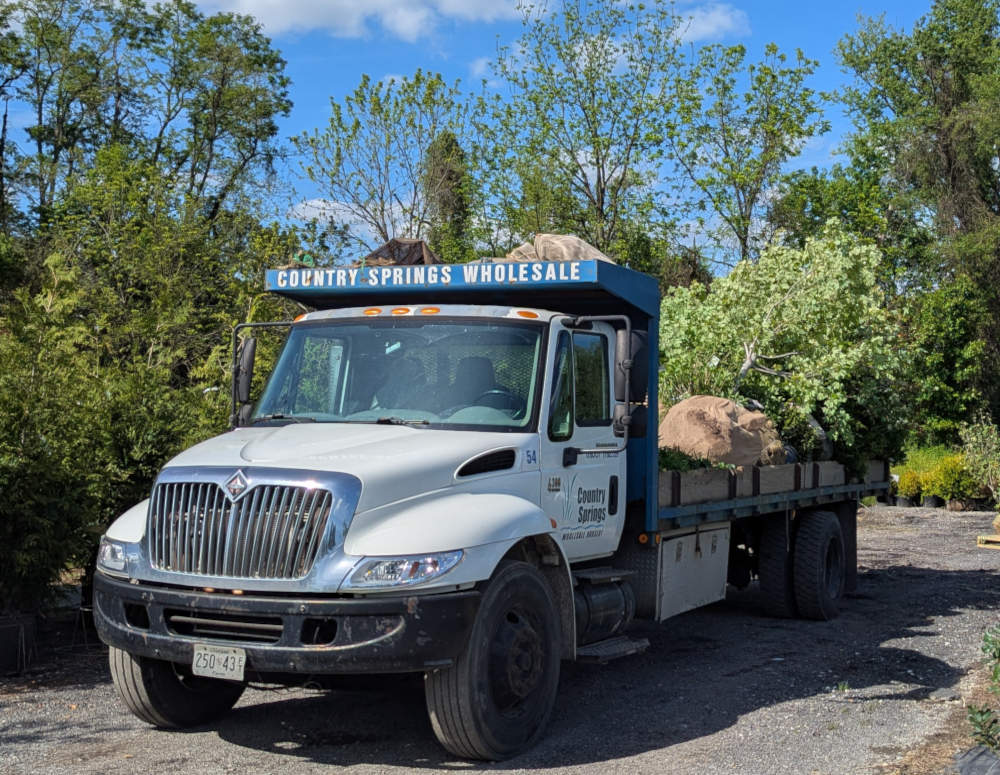
 For many landscape contractors, the focus is often on plant selection and installation technique. One of the most overlooked factors in project success is how plant material is handled and delivered before it ever reaches the jobsite.
From the moment a plant leaves the nursery to the time it is installed, proper plant handling plays a critical role in plant health, survival rates, and long-term performance.
The Risks of Improper Plant Handling
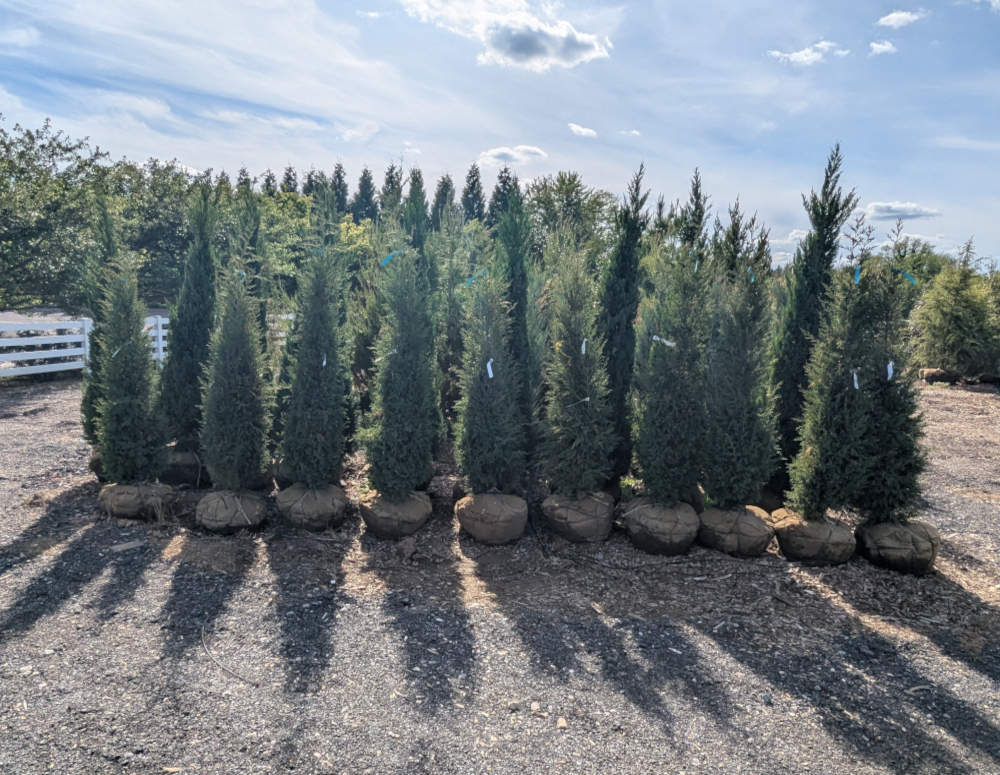
Plant material is a living product, and even short periods of stress can impact its viability. Common issues caused by poor handling include:
-
- Root ball drying or damage
- Broken branches or compromised structure
- Heat stress during transport
- Delayed planting leading to decline
These problems may not be immediately visible but can lead to transplant failure, reduced vigor, and costly replacements. Continue reading “Proper Plant Handling and Delivery Impacts Landscape Success”
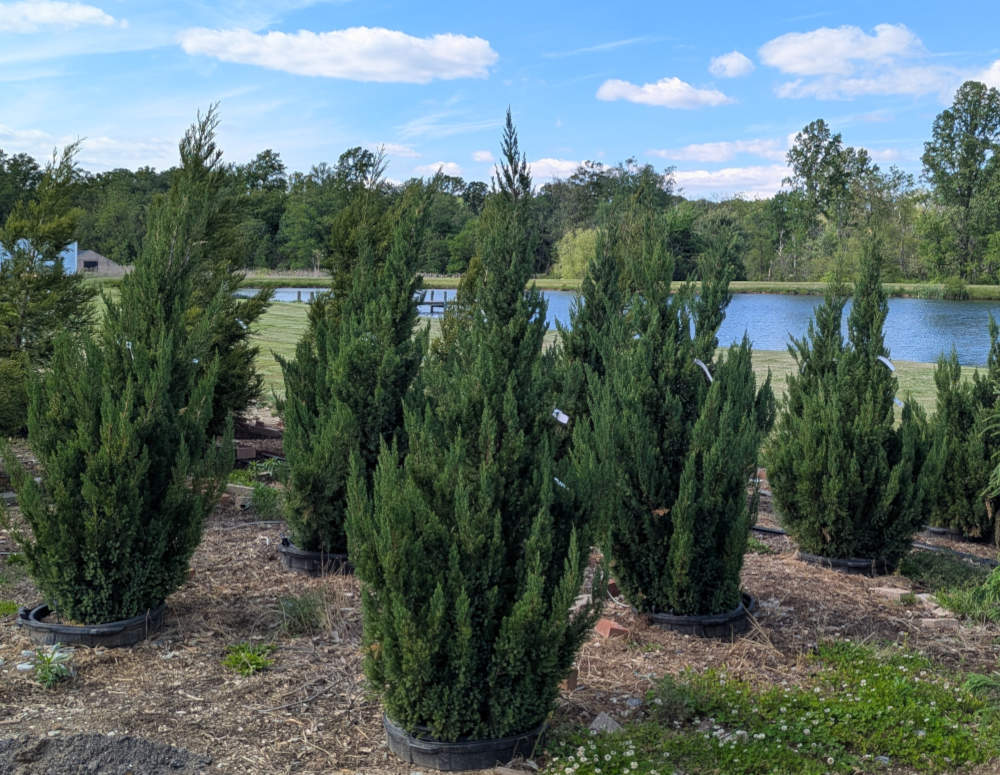
 Understanding Right Tree Size Options
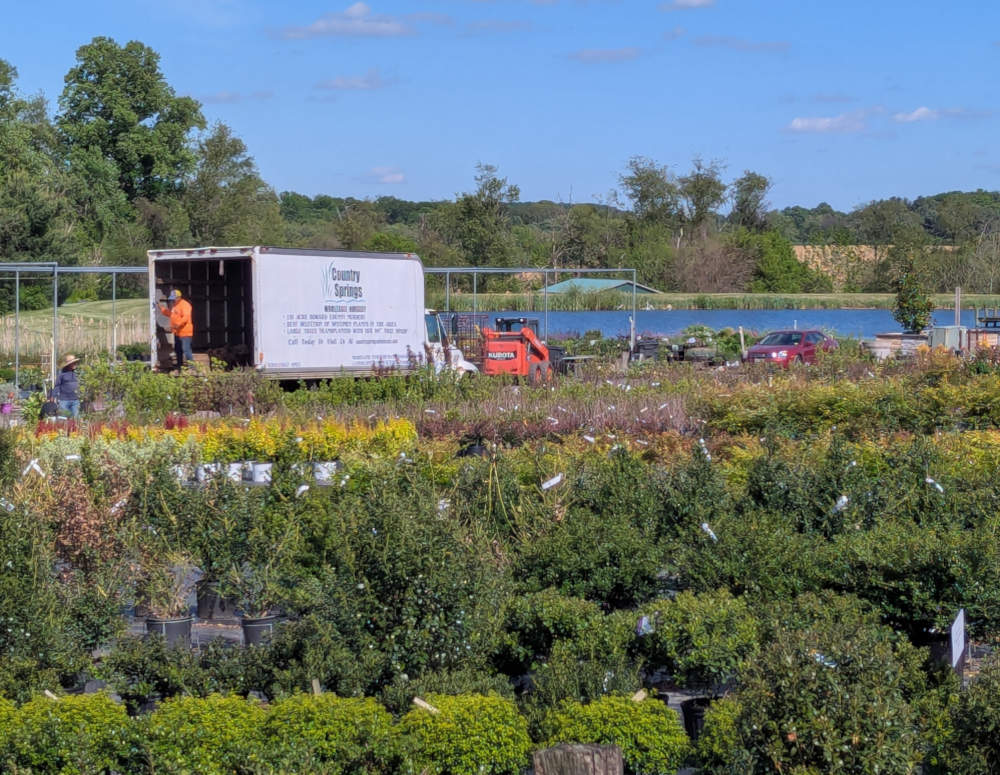
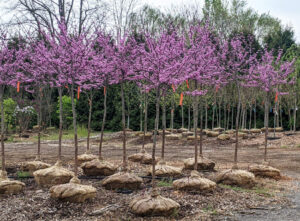 In landscaping, delays don’t just affect timelines — they impact labor efficiency, project costs, and client satisfaction. While weather and site conditions are often unavoidable variables, one factor contractors can control is their reliable landscaping plant supply.
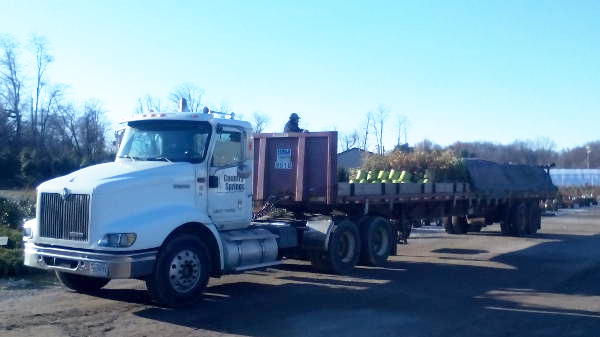
 For landscape contractors, profitability is determined long before the first plant goes into the ground. Material sourcing — particularly how and where plants are purchased — plays a major role in controlling costs, maintaining efficiency, and delivering consistent results.
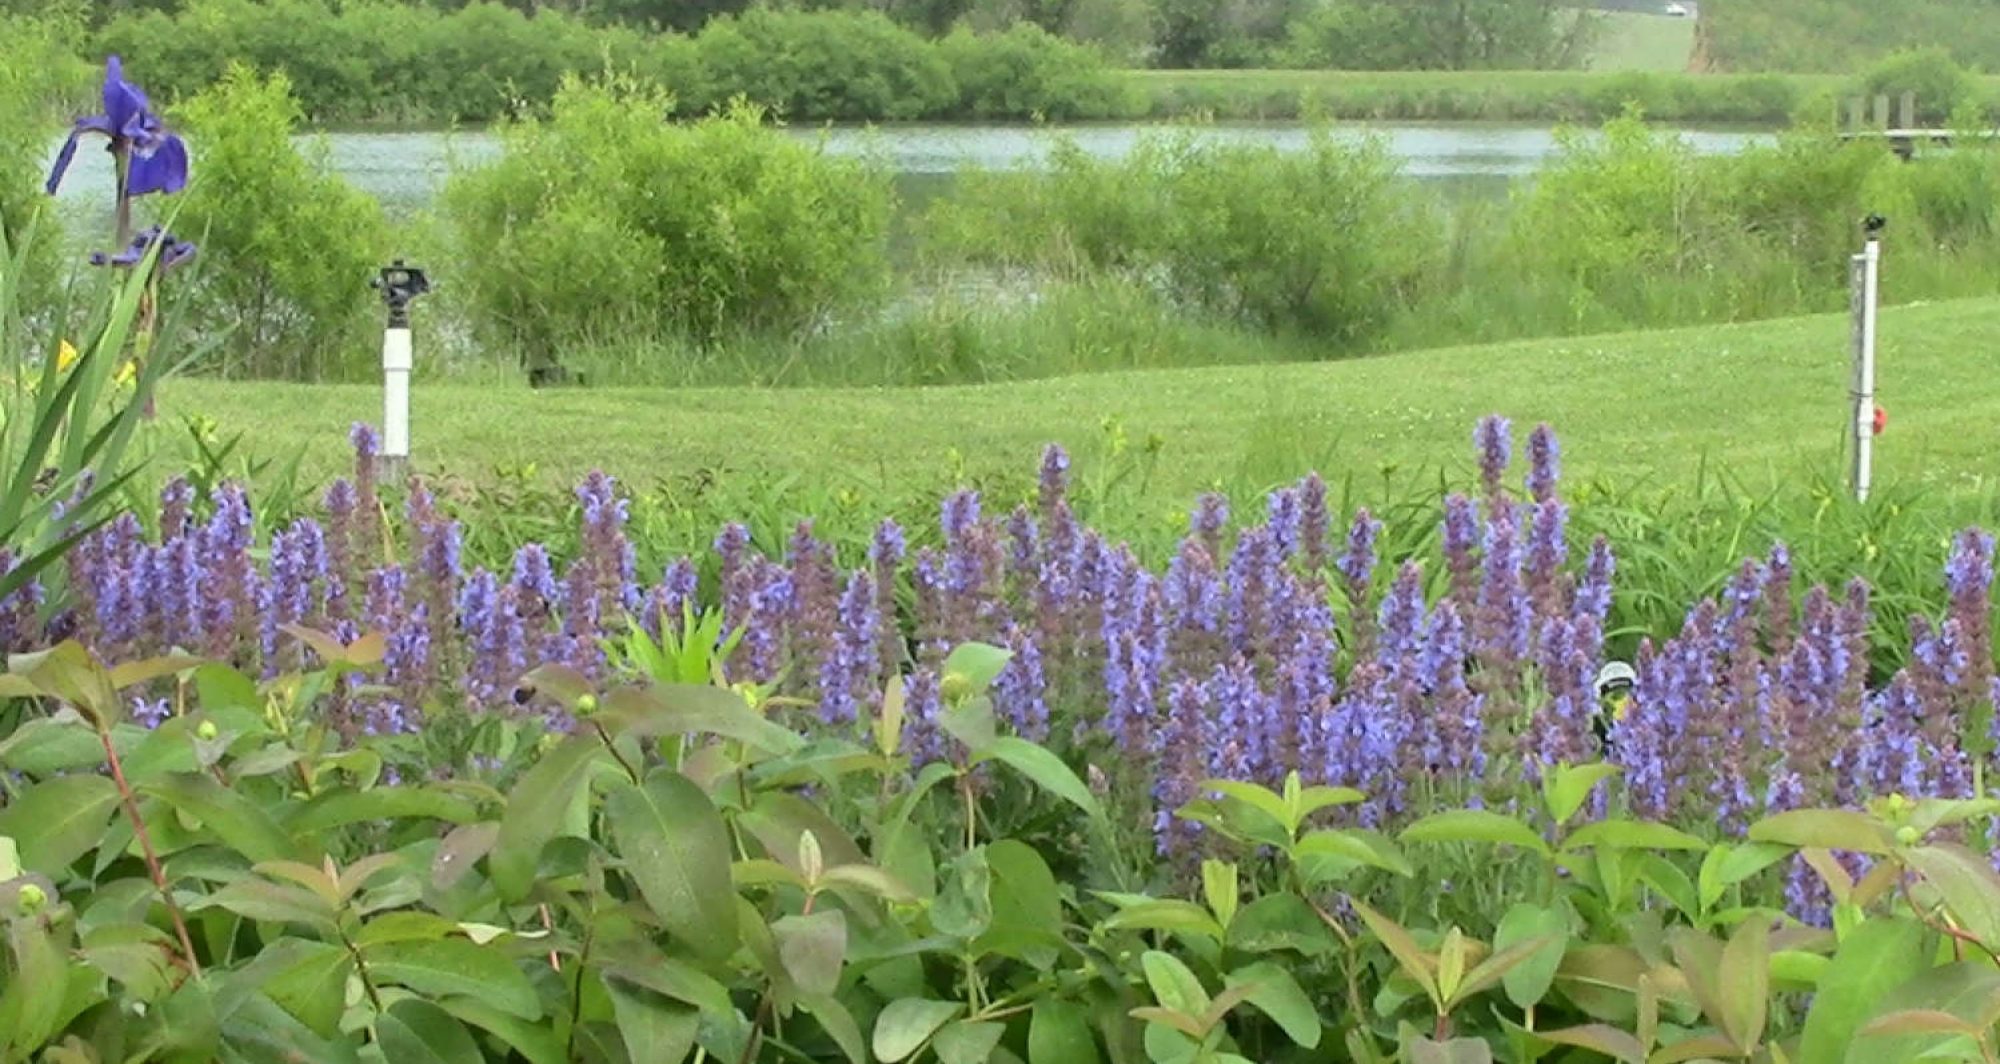
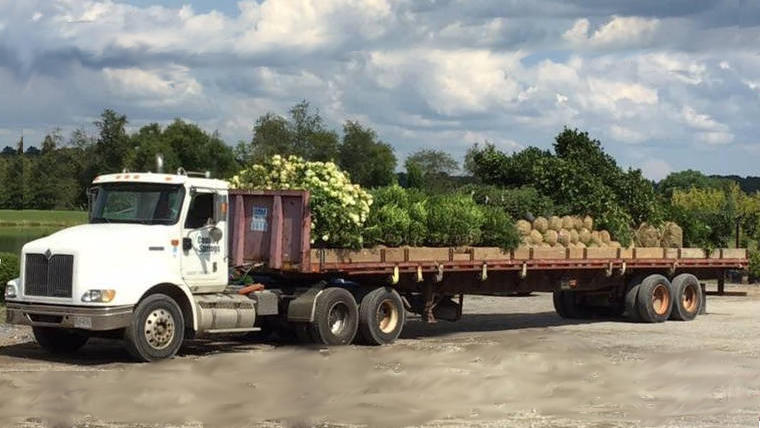
 The demand for native plants has surged — and it’s not slowing down. Municipal projects, commercial landscapes, and even homeowners are requesting regionally appropriate species that support pollinators, reduce maintenance, and meet environmental regulations.