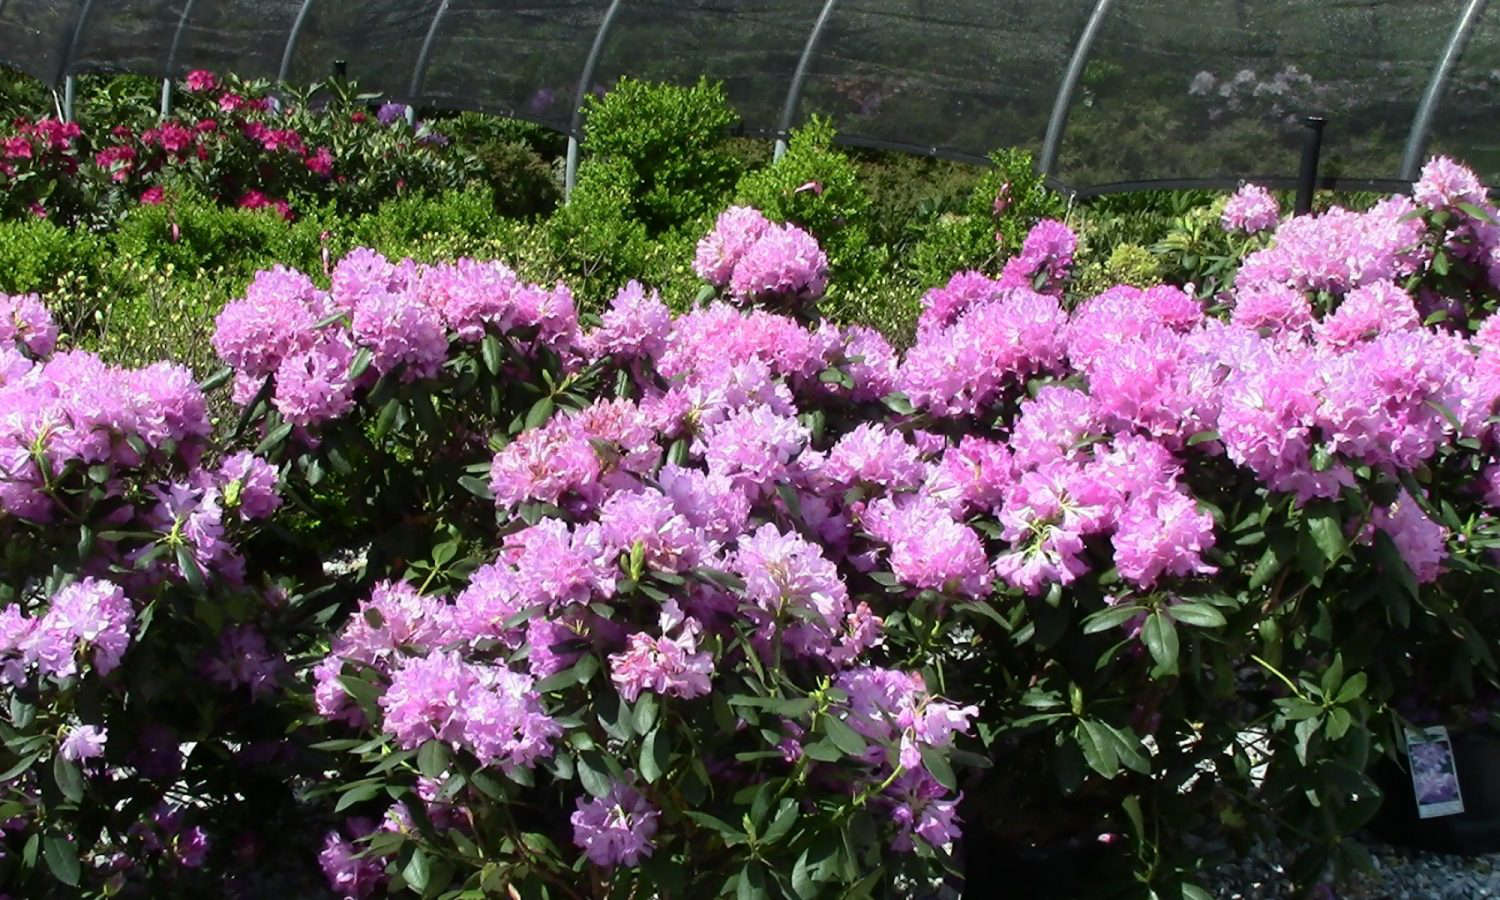

If you think Plant Sizing doesn’t matter – Think again!
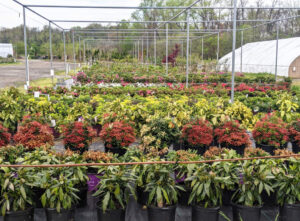
 Even minor variations in plant height, caliper, or density become immediately noticeable once installed. Common issues caused by inconsistent plant sizing material include:
-
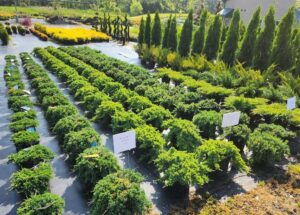
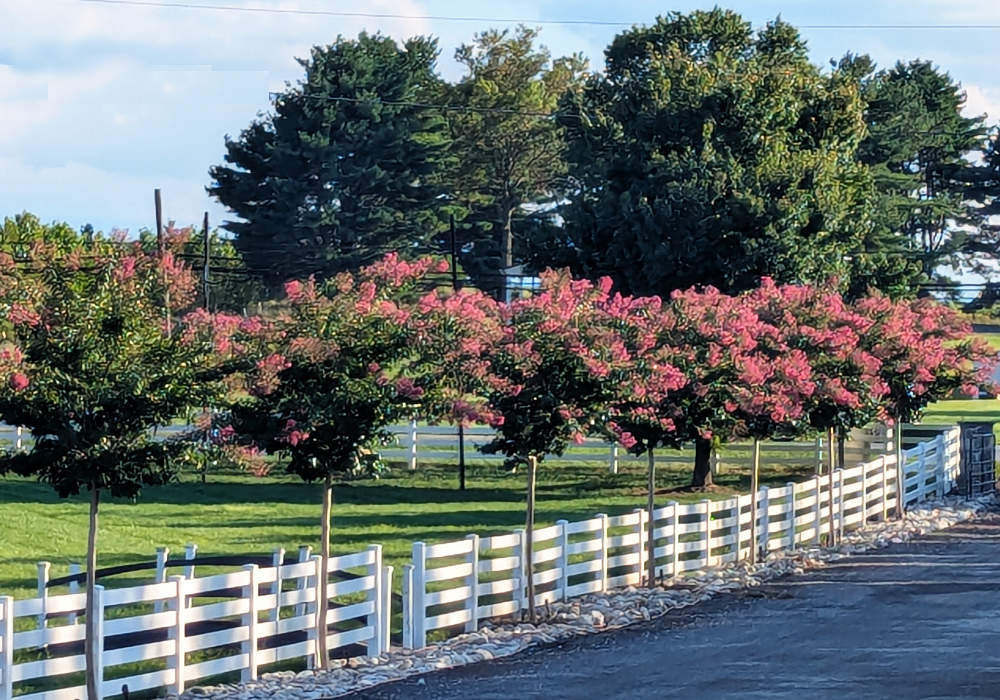
- Uneven hedge lines and screens
- Disrupted sight lines in formal designs
- An unpolished, unfinished appearance at project turnover
For contractors, these inconsistencies often lead to client concerns, corrective labor, or costly replacements. Continue reading “Plant Sizing Consistency and the Visual Impact”
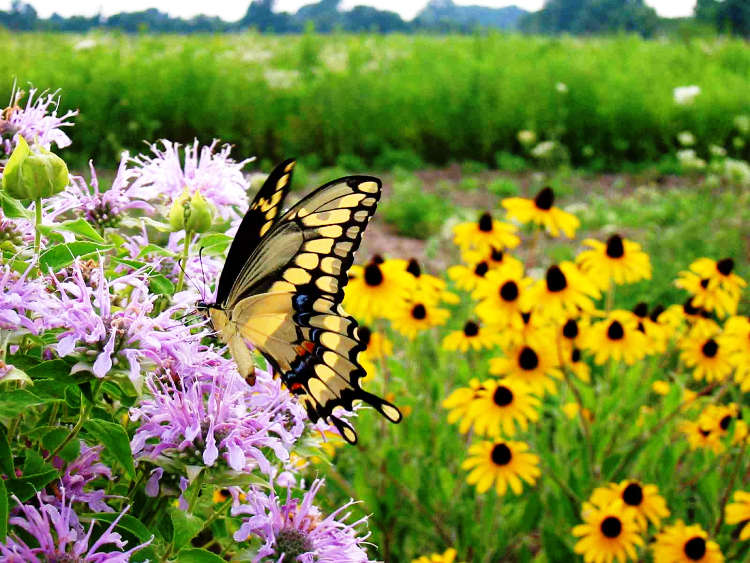
 The demand for native plants has surged — and it’s not slowing down. Municipal projects, commercial landscapes, and even homeowners are requesting regionally appropriate species that support pollinators, reduce maintenance, and meet environmental regulations.
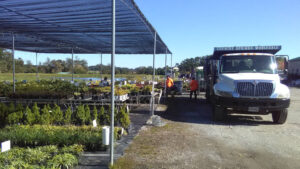
 Guarantee access to the best-quality stock
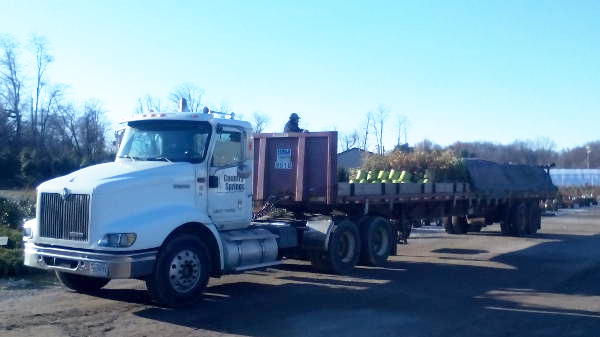
 Step 1: Start with Clear Project Planning