Boxwood Basics
Boxwoods are a cornerstone of American landscapes, prized for their evergreen foliage, adaptability, and timeless appeal. Whether you’re designing a formal hedge, adding structure to a mixed border, or creating a classic foundation planting, choosing the right boxwood variety is key to long-term success. With dozens of cultivars available, it’s important to understand the differences in size, shape, and hardiness so you can match the right plant to your landscape needs.
Why Choose Boxwoods?
Boxwoods offer year-round greenery, respond well to pruning, and can be shaped into hedges, spheres, or left natural for a softer look. Their dense foliage makes them ideal for creating structure and contrast in the garden.
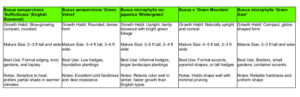
Popular Boxwood Varieties
Tips for Success
Site Selection: Plant in well-drained soil; avoid waterlogged areas.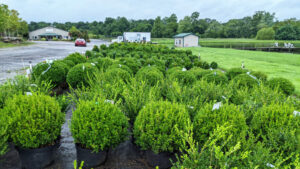
Sunlight: Full sun to partial shade, depending on the variety.
Pruning: Light, regular pruning keeps shape without stressing the plant.
Winter Care: Mulch roots and shield from harsh winds to prevent bronzing.
Boxwood Basics: Final Notes
The best boxwood for your project depends on your design goals. For formal hedging, ‘Suffruticosa’ or ‘Green Velvet’ are excellent. If you need an upright structure, go with ‘Green Mountain.’ For compact accents, ‘Green Gem’ is ideal. And for durability with faster growth, ‘Wintergreen’ stands out.
No matter which you choose, boxwoods provide year-round structure and elegance, making them one of the most dependable shrubs in the landscape trade. Boxwoods also provide elegant foliage that helps to increase property value.
Contact our knowledgeable team at Country Springs Wholesale Nursery and schedule a visit to see our huge selection in person.
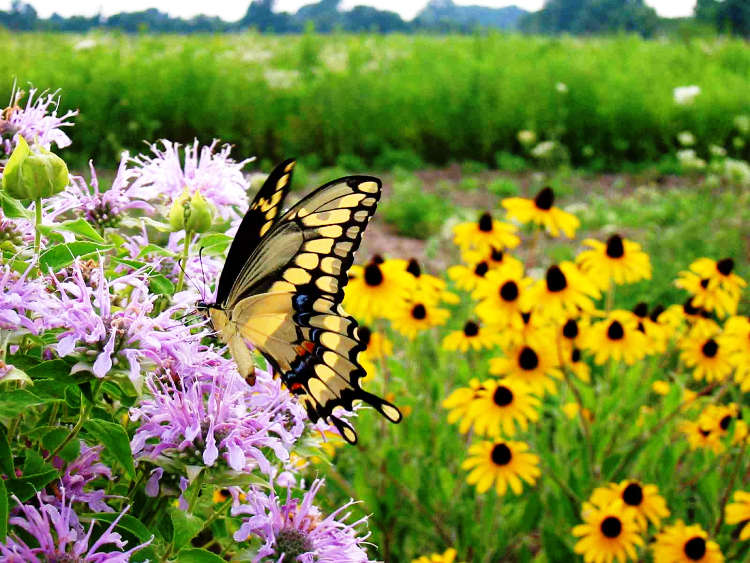
 The demand for native plants has surged — and it’s not slowing down. Municipal projects, commercial landscapes, and even homeowners are requesting regionally appropriate species that support pollinators, reduce maintenance, and meet environmental regulations.
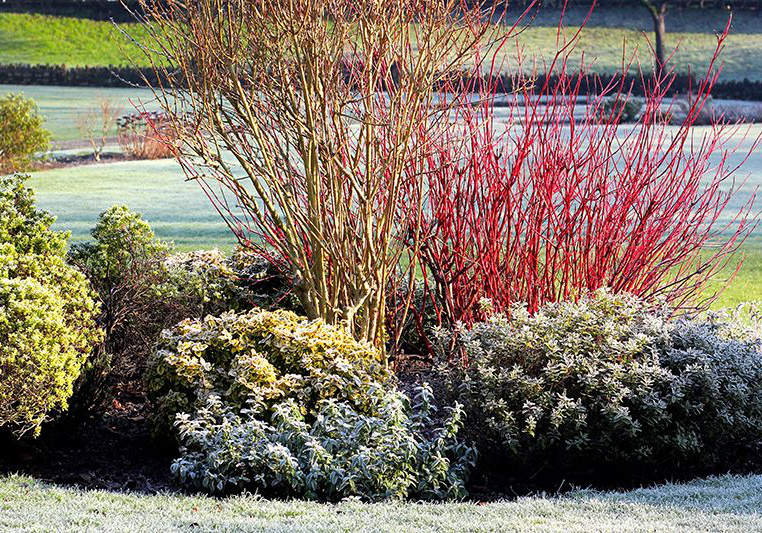
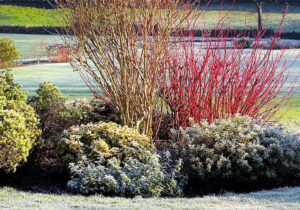 Winter landscapes can be beautiful, but beneath the frosty surface, plants face real stress. Cold temperatures, icy winds, and hungry wildlife all create challenges that, if ignored, can cause lasting damage. With proper winter garden care, you can protect your plants and ensure it emerges healthy and vibrant in spring.
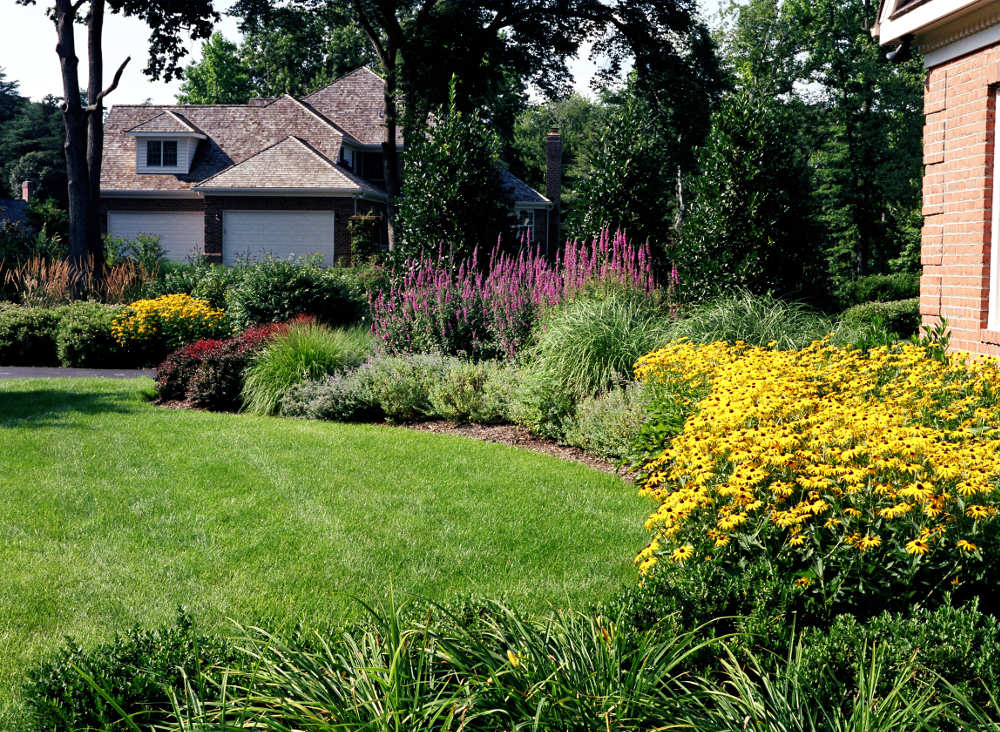
 Soil plays a critical role in plant health, with its unique characteristics shaping how well plants grow and thrive. Drainage varies widely—some soils hold water for long periods, while others dry out quickly, influencing moisture availability for roots. Nutrient levels also differ, as certain soils are naturally rich and fertile, while others require amendments to support vigorous growth. Finally, root development depends heavily on soil texture and structure, which determine how easily roots can spread, anchor, and access the resources they need. A clear understanding of these factors helps guide better planting and management decisions.