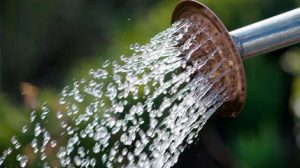
Rainwater harvesting is a very simple technique that anyone can practice, no matter what part of the country you’re in. All you need is an effective rainwater harvesting system.
Harvesting rainwater is the process of collecting rainwater and storing it for future use. Though it’s an old method for storing water, it’s highly effective and proves to be a highly reliable option. Here are some advantages of rainwater harvesting for your landscaping clients.
1. Rainwater Harvesting is good for the pocketbook.
Do your customers think that they don’t get enough rainfall for rainwater harvesting to be worthwhile? If so, then just point out the fact that even with only 1/2 inch of rainfall, a 1,500 sq ft house can accumulate nearly 500 gallons of water!
To put this into perspective, the average American uses 50 gallons of water for one car wash, so that’s 10 free car washes! The average car wash service is $6.34, so that’s $63 dollars of savings for minimal effort.
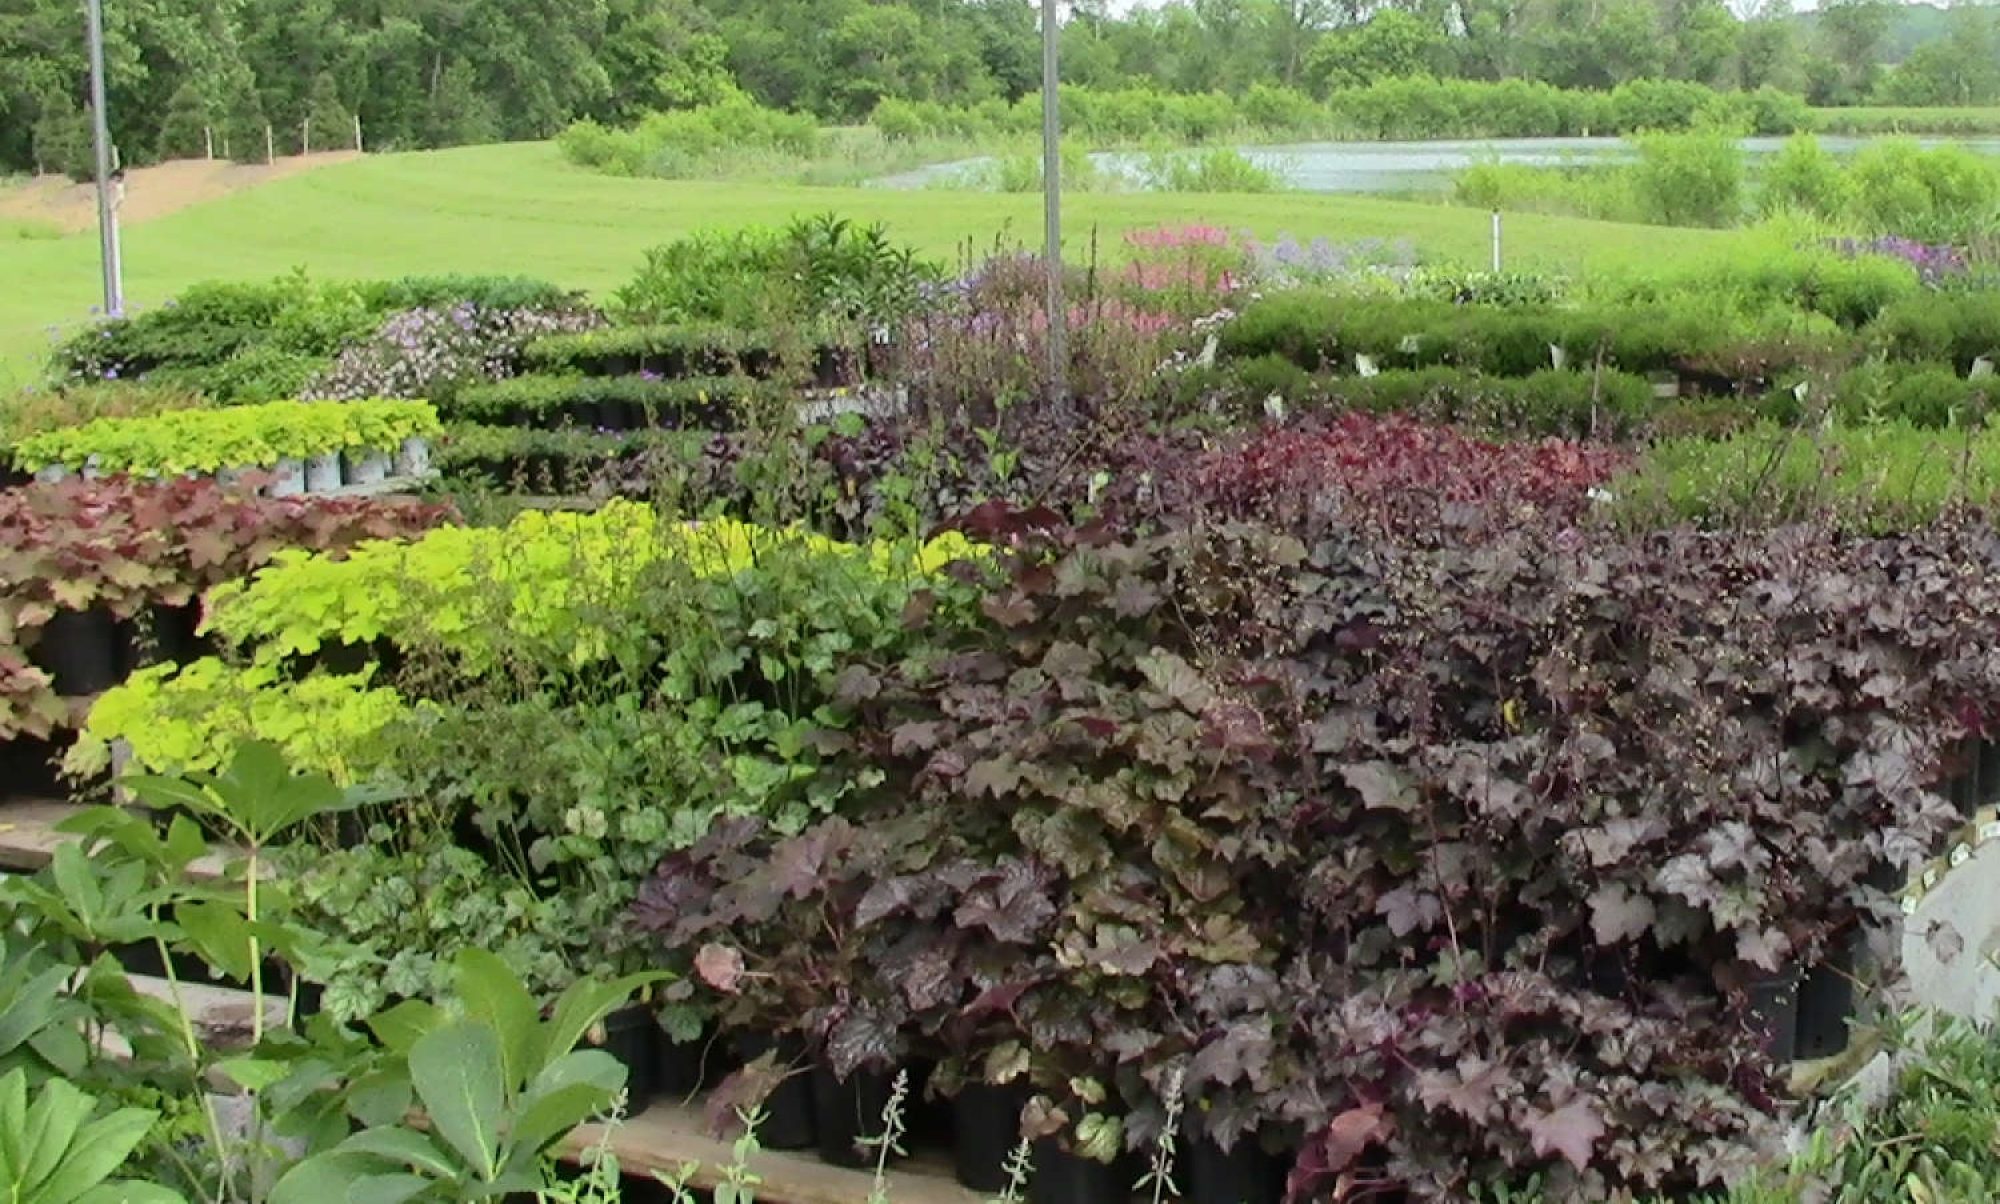
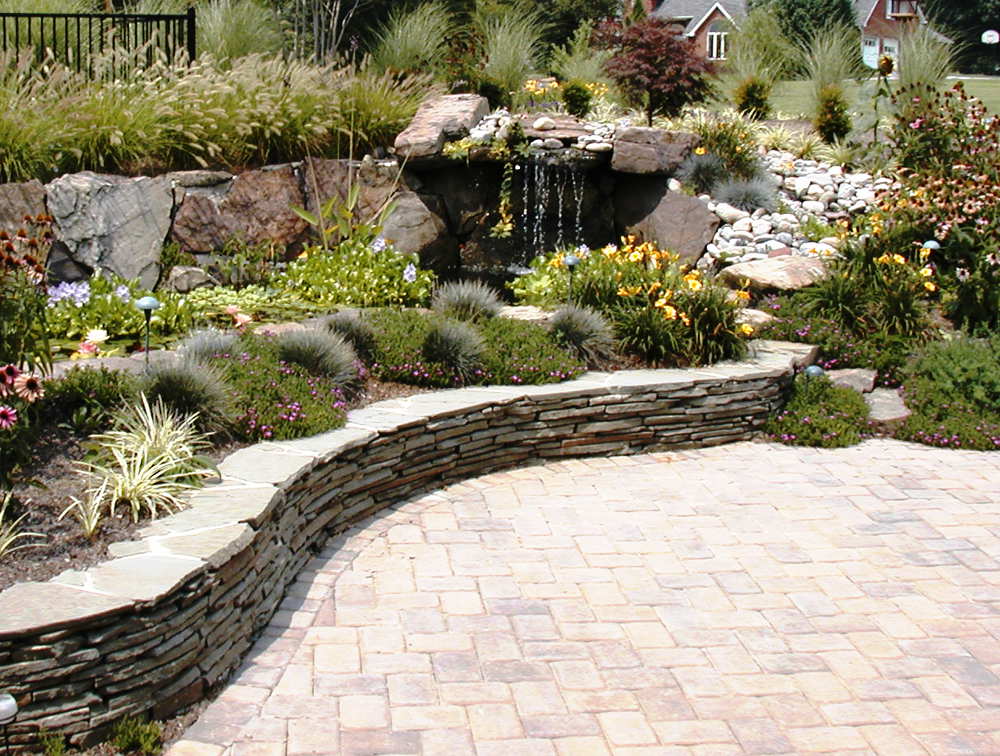
And of course, a rainwater harvesting system can be directed at free watering for landscaping, which means more potential opportunities for your company projects!
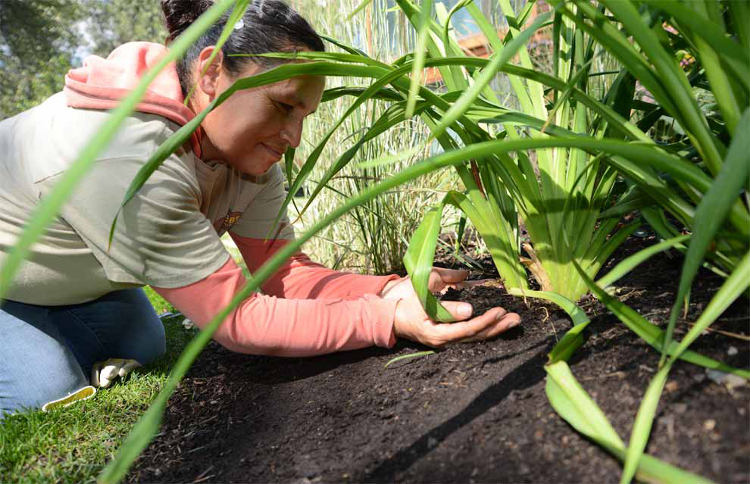
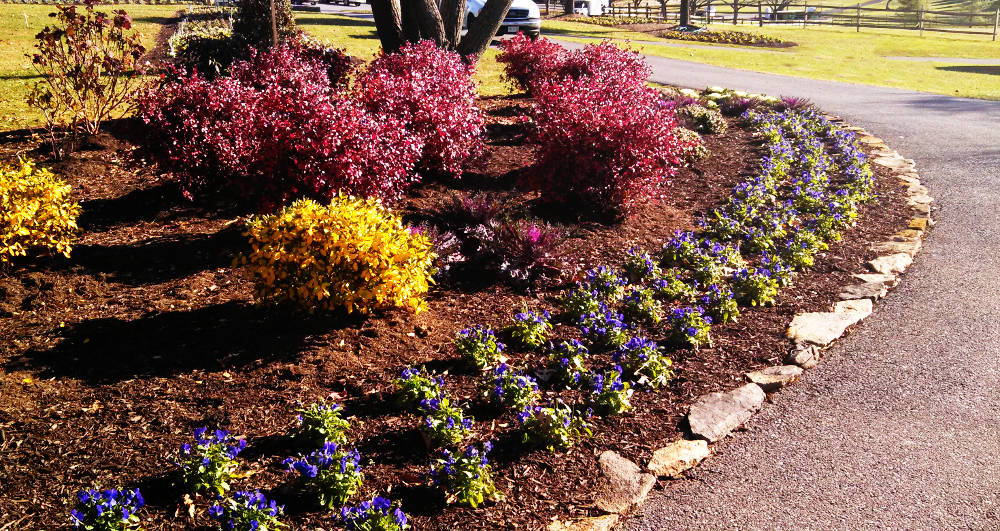
2. Rainwater is healthier for plants.
This one is a no brainer. It’s proven that rainwater is just healthier for plants compared to any other water source. For instance, unlike regular water, rainwater is slightly acidic and contains minerals and nutrients that plants love – like sulfur and potash.
It also contains no salt, so there’s no need to worry about salt causing any potential harm to the plants.
Because of the above factors, plants that reap the benefits of rainwater harvesting will be greener and healthier.
And if that isn’t enough reason to make the switch to harvesting rainwater, then here’s another one:
You can sometimes get free fertilizer in the form of nitrogen solution when there are thunder storms.
Your clients will definitely be shocked to hear this (pun intended).
3. Lower supply – greater demand.
On a more somber note, it’s no secret that many parts of the world are currently suffering water shortages. For example, it was a big story in international news that Cape Town South Africa will be the first major city in the world to run out of water.
And in the United States, Flint Michigan hasn’t had clean drinking water since 2014.
So clearly we shouldn’t take free and clean water for granted – and this is what rainwater harvesting allows. The possibilities are continuing to evolve so being a pioneer could be a game changer for your company.
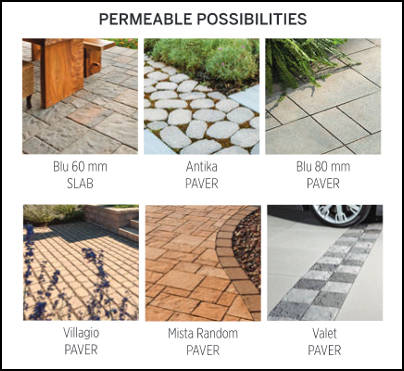
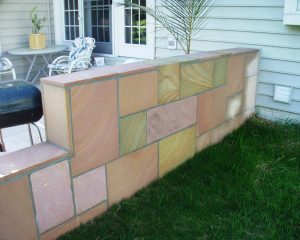
Our hardscape supply partner, Techo-Bloc, has permeable pavers that have assisted in making them a leader in the Rainwater Harvesting arena. We have access to experts that will be glad to advise you on projects that would benefit from this technology.
Here is a contractor project that might offer some insight:
 If applied appropriately, the